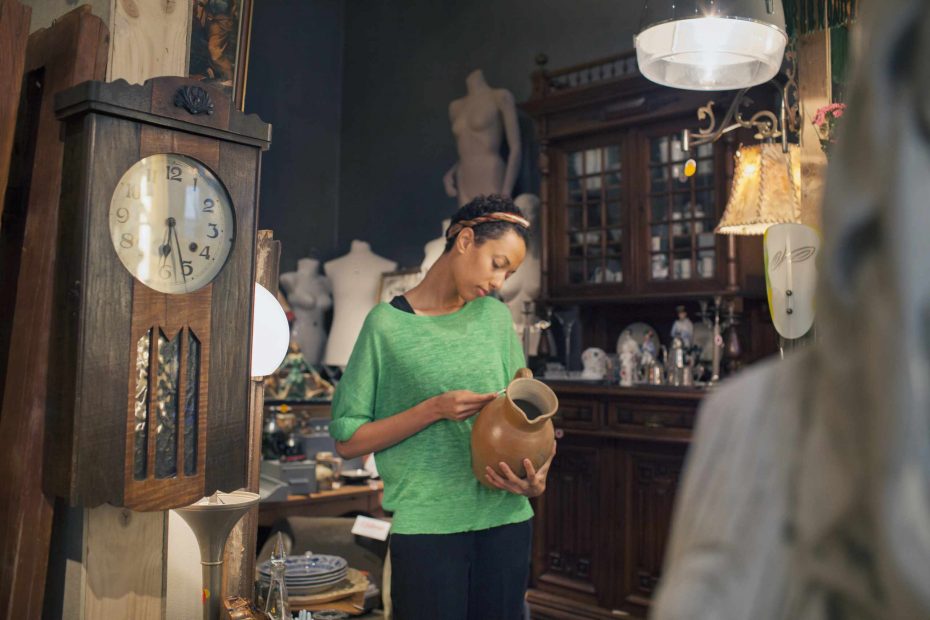
The human mind can quickly assign a name and even a price to just about anything. A heavy, dark wood chest will be Victorian. A chipped, unglazed ceramic bowl will be handthrown. A faded factory label can tell you everything you ever wanted to know about an item’s provenance. Don’t do any of that. Your goal isn’t to determine what the object is; it’s to write a description of what it is. Set it down on a flat, well-lit surface and examine it from every angle. Note the shape, dimensions, weight, materials, and condition.
Examine artifacts in the same way, every time: the materials, the method of construction, the surface condition, the marks, the condition, and the provenance. Furniture should be examined for joinery, veneer, tool marks, fasteners, and replaced hardware. Ceramics should be examined for glaze, the foot, decoration, firing marks, chipping, and hairline cracks. Metal artifacts should be checked for oxidation, mold marks, soldered repairs, and polished areas. Books and printed materials can often be examined for binding, paper watermarks, foxing, and labels, as well as any modern restorations.
Record your observations without drawing conclusions. “Dark brown surface with lighter areas of wear around the handle” is more helpful than “an old patina.” “Two screws appear to be of different sizes and finishes” is more helpful than “original hardware.” These observations keep the uncertainty alive and make later research easier. You might classify these observations as: visible facts, possible interpretations, and missing information. “A maker mark is visible on the surface” is a fact. “It is likely to identify a specific workshop” is an interpretation. “Does this mark match other records?” is information that still needs verification.
Record condition before any cleaning, polishing, restoration, or partial or complete disassembly. Surface dirt may hide maker’s marks, but even careful cleaning may remove finish, oxidation, and other residue. Take front, back, base, interior, joints, labels, and signatures photographs. Photograph damaged areas and other unusual structural features. Add a ruler to some of the photographs as a guide for size. Record cracks, losses, repairs, stains, abrasions, and loosened parts. Use objective language to describe any sign of prior restoration. If an object appears to be delicate or of significant value, stop handling it and seek expert advice on its specific materials.
You won’t begin the research process until after you have recorded the object to the best of your abilities. Compare the object to records held by museums, specialist reference works, and trusted auction houses. You aren’t just looking for a match, or something that looks similar. You’re looking for things that match on size, weight, materials, construction method, the placement of the marks, decoration, and so on. Auction house descriptions or seller attributions should never be a substitute for research, and one piece of evidence should not supersede all others. The more pieces of information that corroborate each other, the better.
It is helpful to take an everyday object or one purchased at a yard sale, set it down in front of you for ten minutes, and describe it. Write out a catalog entry for it that describes only what you see in front of you and then list three questions that might help you further identify it. Do the research, then revisit your notes and identify the interpretations that have been validated or refuted by further research. You know you are getting better when your written descriptions become more precise, when the questions you ask become more specific, and when you feel less of an urge to provide answers to all the questions you have asked. The goal of any object inspection is not always to arrive at a definitive conclusion. It can also result in a clear description of what is known and what remains to be determined.